How to Fix Blurry and Low-Quality Images: 5 Proven Methods (2026 Guide)
The Blurry Photo Problem
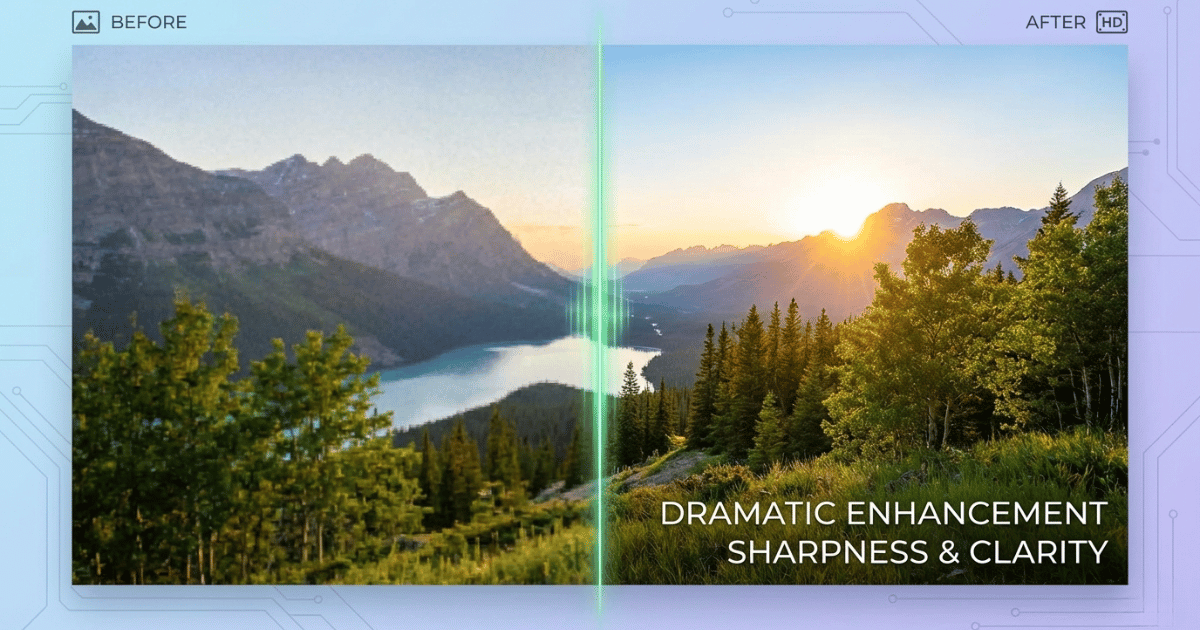
Have you ever captured what seemed like the perfect moment, only to discover later that your image is blurry or pixelated?
Whether it's a precious family memory, a product photo for your online store, or an important presentation graphic, low-quality images can be incredibly disappointing. The good news is that you don't have to settle for blurry, low-resolution images anymore.
In this comprehensive guide, we'll walk you through five proven methods to fix blurry and low-quality images.
What Causes Blurry and Low-Quality Images?
Before jumping into fixes, let's understand why your image looks bad in the first place. Different problems need different solutions.
Camera shake and motion blur
When your hand moves while taking a photo, or when the subject moves faster than your shutter speed can capture, you get motion blur. This shows up as a smeared look across the entire image or on moving subjects.
Out-of-focus shots
Sometimes the camera focuses on the wrong thing. Your subject ends up soft while the background looks sharp. Portrait mode mishaps often fall into this category.
Low-resolution and over-compression
Downloaded images from WhatsApp, social media, or email are often heavily compressed. They look fine as thumbnails but fall apart when you zoom in. You'll see blocky pixels instead of smooth details.
Poor lighting and high ISO noise
Photos taken in dim conditions often have digital "grain" or noise. This makes images look muddy and low quality, even when they're technically in focus.
5 Proven Methods to Fix Blurry Images
There are multiple tools and techniques. However, these five methods consistently deliver the best results:
Method 1: AI-Powered Upscaling
This is the most effective method for fixing blurry and low-quality images. AI image upscalers use machine learning algorithms trained on millions of high-quality images to intelligently add detail and sharpness to your photos.
Unlike traditional upscaling that just stretches pixels, AI upscalers analyze your image and predict what missing details should look like. They recognize patterns like edges, textures, and faces, then reconstruct them at higher resolution. The results can be genuinely impressive, often transforming unusable images into sharp, professional-looking photos.
Best AI Tools
After extensive testing, here are the top recommendations:
Instacut Studio image upscaler is a free tool that allows you to upscale your images. If you're running an e-commerce store or managing lots of product images, this tool can save you countless hours. It produces exceptional results, especially with portraits and landscapes. Pixelbin stands out for its ease of use and integration capabilities. The API integration means you can automate the enhancement process entirely.
Step-by-Step Guide Using AI Upscaling
- Choose your tool and upload your blurry image. Most platforms support common formats like JPEG, PNG, and even TIFF. The upload usually takes just a few seconds unless you're working with very large files.
- Let the AI work its magic. Processing times vary depending on image size. Small images might process in seconds, while large files could take a minute or two.
- Download and compare your results. Always zoom in to 100% to check the quality. Look for any artifacts or over-sharpening.
When to Use AI Upscaling
- Photos with moderate blur
- Low-resolution images you need to enlarge
- Old scanned photographs that need restoration
- Product images for e-commerce
Note: AI upscaling has limits. Extremely blurry images where the subject is barely recognizable won't magically become crystal clear. The AI needs some detail to work with.
Method 2: Manual Sharpening in Photo Editing Software
Sometimes you need more control than AI tools provide. That's where manual sharpening comes in. This traditional approach gives you precise control over every aspect of the sharpening process.
Using Adobe Photoshop
Photoshop remains the industry standard for good reason. Here's the go-to sharpening workflow:
- Open your image and immediately duplicate the layer. This non-destructive approach lets you compare before and after, and you can always dial back if you over-sharpen.
- Navigate to Filter > Sharpen > Unsharp Mask. Despite the confusing name, this is one of the most effective sharpening tools. You'll see three sliders:
- Amount controls the intensity of sharpening
- Radius determines how many pixels around edges get sharpened
- Threshold sets how different pixels need to be before they're considered an edge
- Starting point for most images: Amount around 80-120%, Radius between 1.0-1.5 pixels, and Threshold at 2-4 levels.
For more advanced sharpening, try the Smart Sharpen filter. It offers better control over shadow and highlight sharpening, reducing those annoying halos that can appear around high-contrast edges.
When to Use Manual Sharpening
- When you need precise control over specific areas
- Working with images that have both sharp and blurry regions
- Fine-tuning after AI enhancement
Method 3: Noise Reduction Combined with Sharpening
Sharpening a noisy image just makes the noise more visible. The solution is to reduce noise first, then sharpen. This combined approach produces cleaner, more professional results.
Noise and blur often go hand-in-hand, especially in low-light photos. Your camera cranks up the ISO to capture enough light, introducing grain and noise. Then, if you also have motion blur or focus issues, you've got a double problem.
The best solution is finding the right balance. Too much noise reduction creates that artificial smoothness. Too little, and your sharpened image looks grainy and amateurish.
When to Use This Method
- Low-light photography
- High-ISO images
- Old photographs with film grain
- Any image where you notice both blur and graininess
Method 4: Deconvolution Sharpening (Advanced Technique)
This is a more technical approach, but it can work wonders on certain types of blur, particularly motion blur and out-of-focus shots. Deconvolution sharpening attempts to reverse the blurring process mathematically.
When an image blurs, light from each point spreads to neighboring pixels in a predictable pattern. Deconvolution algorithms try to reverse this spreading, essentially "unblurring" the image. It sounds like magic, and when it works, it kind of is. The catch is that you need to know or estimate the type of blur.
When to Use Deconvolution
- Motion blur in a consistent direction
- Slight out-of-focus issues where the subject is recognizable
- Camera shake blur from handheld shooting
Important: Deconvolution is hit or miss. When it works, the results can be spectacular. When it doesn't, you might end up with strange artifacts. Always keep your original and be prepared to try different settings.
Method 5: AI-Generated Image Correction
This is a newer category that's become increasingly relevant as AI-generated art has exploded in popularity.
If you've used tools like Midjourney, Dall-E, or Stable Diffusion, you've probably encountered common issues like distorted faces, extra fingers, or blurry details.
Common AI-Generated Issues
- AI image generators sometimes struggle with hands, producing extra or missing fingers
- Faces can have asymmetrical features or strange proportions
- Text in AI-generated images often appears as gibberish
- Background details might be blurry or nonsensical when examined closely
When to Use This Method
- AI-generated images with typical AI artifacts
- Synthetic images that need enhancement for professional use
- Hybrid projects combining AI generation with traditional photography
How to Prevent Blurry Photos (Camera Settings & Techniques)
The best way to fix blurry images is to not create them in the first place. After years of photography, we've learned that proper shooting technique prevents most blur issues.
Camera Settings for Sharp Photos
Shutter Speed Guidelines
This is the most critical setting for preventing blur. The general rule is your shutter speed should be at least 1/focal length. Shooting with a 50mm lens? Use 1/50th of a second or faster. With a 200mm lens, you need 1/200th or faster.
For moving subjects, you need even faster shutter speeds. Kids playing? Try 1/500th or faster. Sports action? 1/1000th or higher.
ISO Settings
Higher ISO lets you use faster shutter speeds in low light, but it introduces noise. Modern cameras handle high ISO remarkably well, though. A slightly noisy, sharp image beats a perfectly clean, blurry one every time.
Aperture Selection
Wider apertures (smaller f-numbers like f/1.8 or f/2.8) create beautiful background blur but also create a very shallow depth of field. If your focus is even slightly off, your subject will be blurry. For group shots or landscapes where you want everything sharp, use f/8 or smaller.
Smartphone Photography Tips
Use HDR and Night Mode
Modern smartphones have incredible computational photography features. HDR mode takes multiple exposures and combines them for better detail and dynamic range. Night mode uses longer exposures but combines multiple frames to reduce blur and noise.
Shoot in RAW Format
If your phone supports it, shoot in RAW format. You'll have much more flexibility in post-processing, and you can recover details that would be lost in JPEG compression.
Stabilization Techniques
Even with optical image stabilization, holding your phone steady makes a huge difference. Use a two-handed grip, tuck your elbows against your body, and take a breath before shooting.
Tap to Focus
Don't rely on autofocus to pick the right subject. Tap on your screen where you want sharp focus. This simple habit has saved countless shots from being ruined by focus on the wrong element.
File Format Selection After Enhancement
After completing the enhancement process, choosing the right file format is essential to preserve image quality, ensure compatibility, and optimize the final output for its intended use.
When to Use JPEG
JPEG is perfect for photographs with lots of colors and gradients. It's universally supported and offers good compression. Use it for photos going to social media, most web use, and prints when file size matters.
Save at 85-95% quality. Below 85%, you'll start seeing noticeable compression artifacts. Above 95%, file sizes balloon with minimal quality improvement.
When to Use PNG
PNG is ideal for graphics, logos, text, and images requiring transparency. It uses lossless compression, so quality never degrades. The downside is larger file sizes.
Use PNG for screenshots, infographics, logos, and any image with sharp edges and solid colors. For photographs, PNG files are unnecessarily large.
When to Use TIFF
TIFF is for archival and professional printing. It supports lossless compression and can store multiple layers and color profiles. Files are large, but the quality is maximum.
Save your final enhanced images as TIFF files for archival purposes, then create JPEG or PNG versions for actual use.
Conclusion
Fixing blurry and low-quality images is more achievable than ever, thanks to advances in AI technology and refined traditional techniques. Whether you're working with old family photos, product images for your business, or just trying to salvage a shot you thought was ruined, you now have multiple proven methods to choose from.
Remember, the best approach often combines multiple techniques. Start with AI upscaling for overall enhancement, then fine-tune with manual sharpening if needed. And don't forget the prevention strategies—proper camera settings and shooting techniques will save you countless hours of post-processing.
Frequently Asked Questions
Can you fix a very blurry photo?
It depends on how blurry we're talking. If you can still recognize the subject and see basic shapes and colors, AI upscaling can often produce surprisingly good results.
What's the best free tool for fixing blurry images?
For AI enhancement, Instacut Studio is the best option. It's a free tool with no limit.
Is AI enhancement better than Photoshop?
They're different tools for different jobs. AI enhancement excels at upscaling and adding detail that wasn't there. It's faster and often produces better results for resolution enhancement than manual methods.
Photoshop excels at precise control, creative editing, and complex manipulations. It's better when you need to selectively sharpen specific areas, remove objects, or make artistic adjustments.
Related Tools
AI Image Upscaler
Enhance and enlarge images with AI
Photo Restoration
Restore old and damaged photos
Image Enhancer
Improve image quality instantly
Image Upscaling Guide
Learn about AI upscaling
All free. All privacy-focused. Built for real people.